How To Avoid Getting Electrocuted With LiveView Authentication
June 10, 2021
Have you heard this wise, old story?
A boilermaker is hired to fix a steamship boiler system. It’s a complex system of pipes and valves that would befuddle less knowledgeable engineers. Without a good grasp of how the entire system works, one would assume that a drastic overhaul is necessary.
But this boilermaker knows where to look and what to listen for. And after a single tap with a hammer to the right valve, the problem is fixed.
The person paying the bill is outraged: How could simply tapping a valve cost $1000?
To which the boilermaker responds: It’s $1 for tapping the valve, and $999 for knowing which valve to tap.
Just this morning, our electrical system needed a tap.
For many months now we’ve been having an intermittent problem with our low voltage electrical panel. “Is the Internet down again?” has become a common refrain around the Studio. We roll our eyes and eventually one of us trundles over to the panel to troubleshoot.
Every fix I could think of seemed heavy-handed: a new breaker, spools of wire, and a lot of grunt work. So, hat in hand, I called over my electrician friend Hector to have a look. Fifteen minutes and 12 inches of wire later, the problem was fixed. Hector knows how our entire electrical system works, and therefore he knew where to “tap”. Quick, easy, and nobody got electrocuted!
What does this have to do with LiveView authentication?
Well, LiveView is a new way of doing things. When I first started using LiveView, it felt disorienting. It wasn’t immediately obvious how to do things in LiveView that I was used to doing in traditional web apps. And, without a guide like Hector to show me the ropes, I ended up over-complicating things. What should have taken minutes instead took hours. It was frustrating.
This was especially true when it came to LiveView authentication. Now I’m no stranger to authentication systems. I’ve built session-based auth systems from scratch and used generated systems. They all fundamentally work the same way: an HTTP session cookie is used to keep track of who’s currently logged in.
But it wasn’t obvious how to get LiveView to play well with a session-based authentication system. A LiveView communicates with the server over a websocket connection. And (here comes the rub) cookies can’t be set over a websocket.
So the solution must be complex (and potentially hazardous), right?

No, you just need to know where to tap.
And once you know where to tap, LiveView authentication is easy. It takes around 10 lines of neatly-formatted code. And it’s totally logical.
Really, just 10 lines of code?
Yeah, that’s all it takes assuming you already have a session-based authentication system in place.
In our LiveView Pro course, we use the phx.gen.auth library to generate a complete authentication system in one fell swoop. It’s the go-to authentication library for Phoenix and LiveView. A single command generates all the baseline code we need:
mix phx.gen.auth Accounts User users
Here’s a high-level view of what that gives us right out of the box:
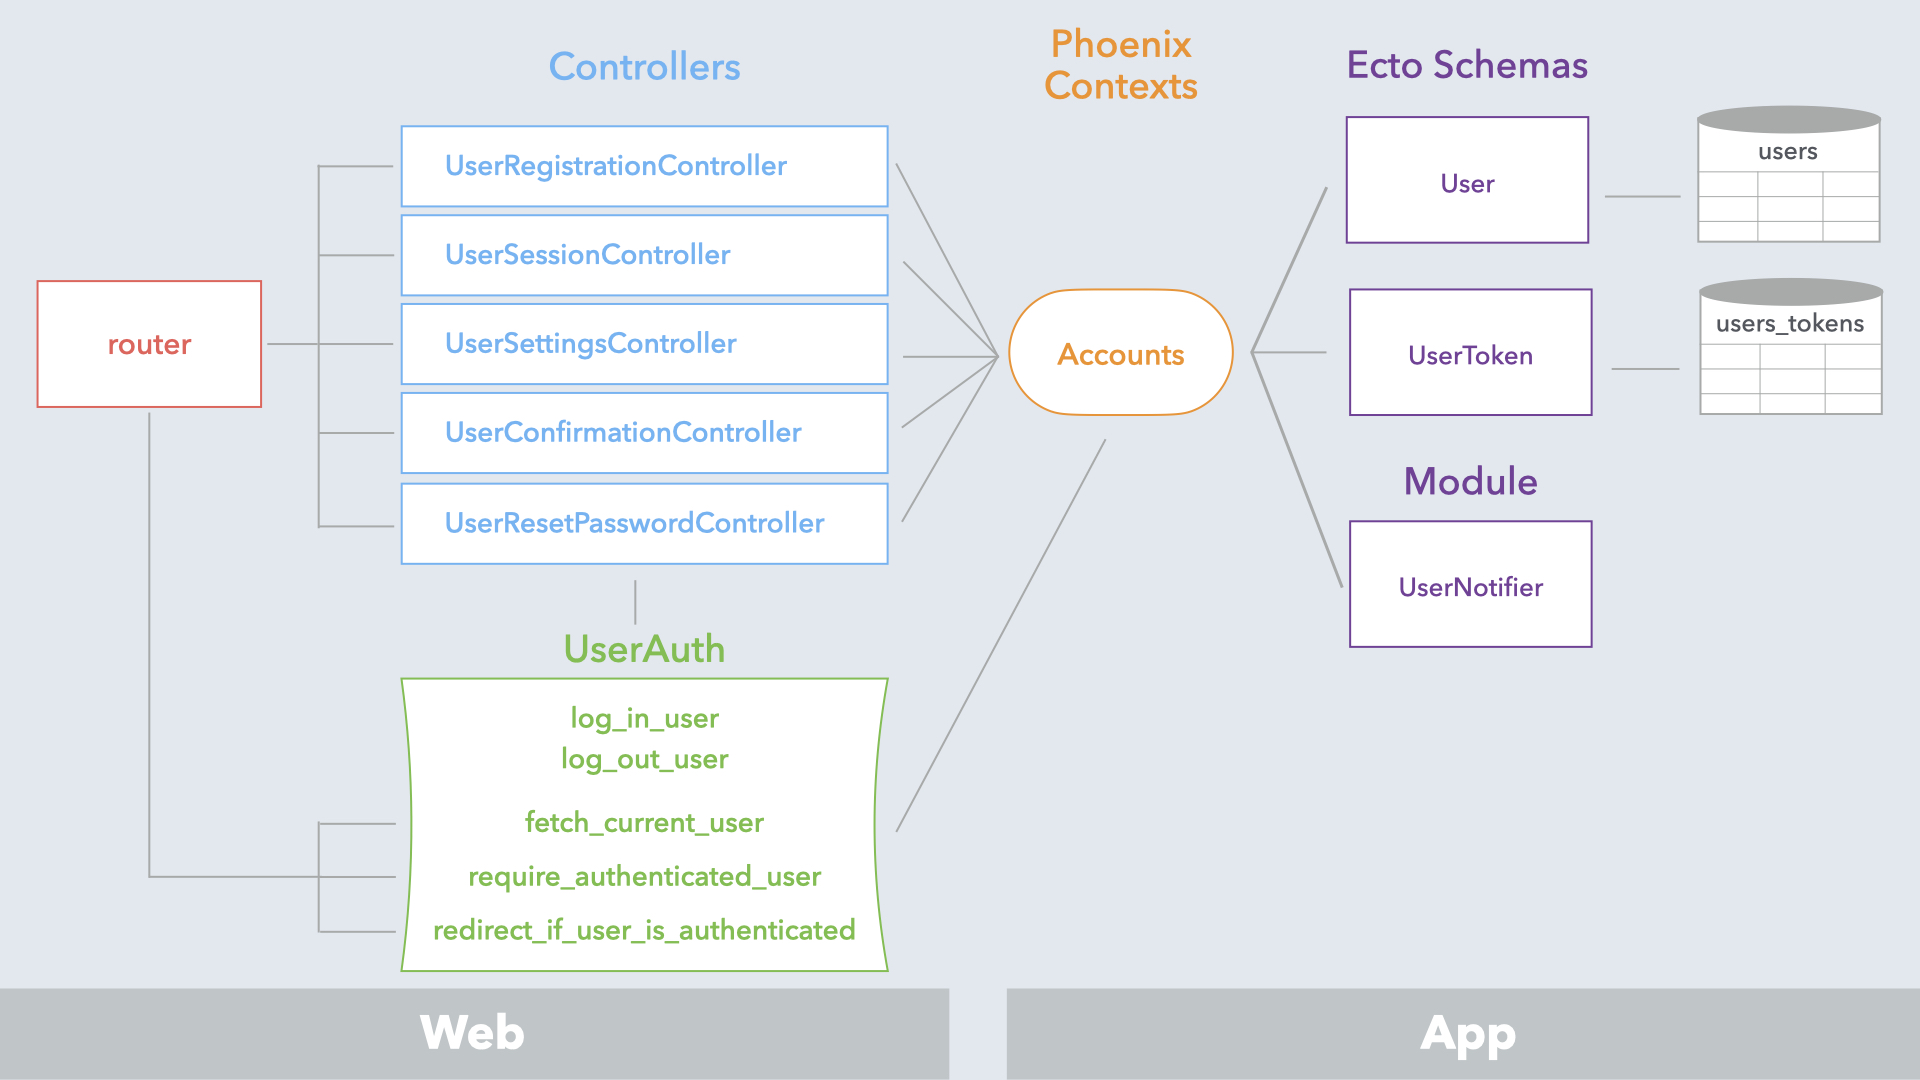
The entire system uses the core facets of Phoenix: database migrations, Ecto schemas, Phoenix context modules and controllers, REST routes, and the like.
One of the things we love about using phx.gen.auth is that it generates all the code inside your Phoenix application directory. No wires behind walls. No underground pipes. All the code is in plain sight and easy to access.
And we’ll walk you through it.
In our LiveView Pro course, we look at the important parts of the code generated by phx.gen.auth so you understand how it all works. And you discover there is no magic.
It takes just 20 minutes, and by the end you’ll feel a lot more confident working with the code.
Aha, now you get it!
But you still need to know where to tap.
The code generated by phx.gen.auth knows who’s currently logged in because it has access to the session cookie. And, by way of a plug, the current user is automatically stashed in the Phoenix connection. But LiveViews aren’t automatically privy to what’s in the connection because LiveViews communicate on websockets.
Here’s where you need those 10 lines of code!
The second parameter passed to a LiveView’s mount callback is the session. And the session includes the current user’s token. So using the token and a function in the Accounts context module generated by phx.gen.auth, the LiveView can fetch the associated user from the database and store that user in the socket assigns:
def mount(_params, session, socket) do
  socket =
    assign(
      socket,
      :current_user,
      Accounts.get_user_by_session_token(session["user_token"])
    )

  {:ok, socket}
And once the LiveView has access to the current user, you’re off to the races.
Well, kinda. But your database won’t be happy about it.
There’s a trick you won’t want to miss.
And judging by the number of questions on forums, many people don’t know this trick.
What happens on the server when a LiveView mounts and tries to fetch the current user? You’d expect a single database query, right? In fact, no less than 3 database queries are run! And the first time you bump into this, it’s baffling.
But it makes total sense when you break it down in terms of LiveView’s lifecycle. In the video, we go behind the scenes to see exactly what happens.
So we need to write custom code to reduce the number of queries, right?
Thankfully, no. In the same way that Hector knew how to solve our electrical problem with an elegant solution, LiveView has an elegant solution to lazily load the current user.
Simply by changing the code to use assign_new rather than assign tells LiveView to look for a current user in the connection before attempting to hit the database:
def mount(_params, session, socket) do
  socket =
    assign_new(socket, :current_user, fn ->
      Accounts.get_user_by_session_token(session["user_token"])
    end)

  {:ok, socket}
end
If a current user doesn’t exist in the connection, the fallback function is invoked to fetch the user from the database.
And to avoid duplicating this code in every mount callback, we refactor it into a tidy function that can be called from any LiveView.
Again, it’s one of those things that’s easy once you know how to do it. And the LiveView Pro course includes an 11-minute video that walks you through it.
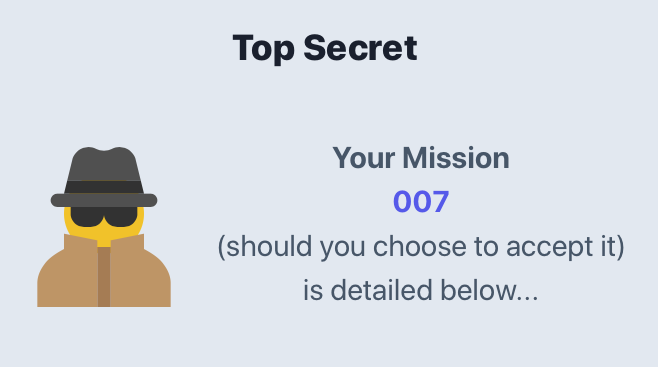
Time for your top-secret mission! 🕵️♀️
To see a demo of what we build in the course, visit the top-secret LiveView. Only our clandestine team of agents get to see their mission, so you’ll be redirected to a login page.
But we let anyone join our secret intelligence service, so go ahead and click the “Register” link. You can create an account using any email address you please (we don’t send a confirmation email). And once your account is created, you’ll be automatically logged in and see a LiveView with your top-secret mission.
So how do you avoid getting electrocuted with LiveView authentication?
You join us in the LiveView Pro course!
You’ll get 7 in-depth videos on authentication and 23 other videos on must-have LiveView topics. We’ve done all the research for you and distilled it in a concise set of videos paced for experienced developers.