LiveView Pro Course Update: Authentication
November 06, 2020
Greetings Friends,
We’re back with another LiveView Pro course update!
Hopefully you’ve had a chance to check out the mapping and charting examples. This week we have an update on the next example that’s in the works.
But first, let’s roll back the clock two decades…
In the days before you could play any song you wanted at any time, you would call in to a radio station and request a song. It sounds so quaint now, but it was super cool back then. 😎
You’d dial the station’s telephone number (on a landline, of course) and request a song you wanted to hear. “Can you please play Who Are You by The Who?” Then you’d wait…
And if you were really lucky, within the next 30 minutes you’d hear the station’s D.J. announce “This one’s for Mike…” right before playing your favorite jam. 🎶
Wow, that made you feel special! They actually played your song for you!
So what’s all this got to do with our next LiveView example?
Well, you’ve lit up our request line wanting to hear about LiveView authentication. It’s literally everybody’s most desired song right now. So if you requested authentication, this one’s for you! 👍
And we totally get why it’s a popular request. Authentication isn’t in the nice-to-have column of your project requirements. It’s a must-have requirement for any application that has members-only features.
Sooner or later, you’re going to need a secure authentication system that works seamlessly with LiveView.
Here’s a top-secret example we’ve been working on.
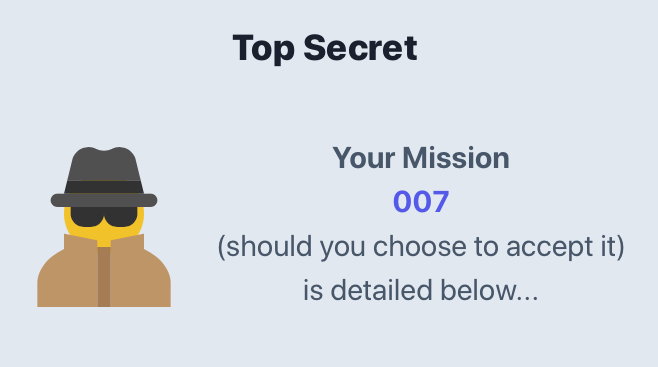
🕵️♀️ Suppose we need a secure way for a clandestine team of agents to get their super-secret missions.
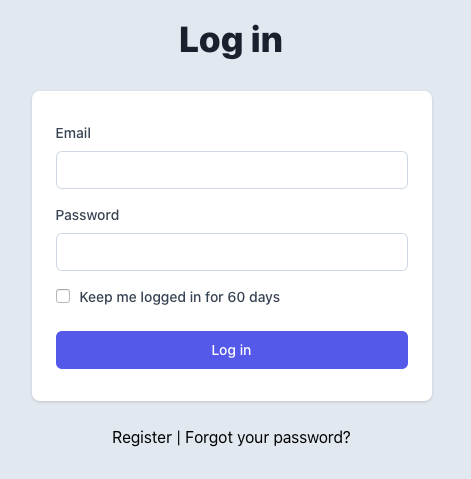
First, to access the LiveView page that displays your next mission, you have to be logged in:
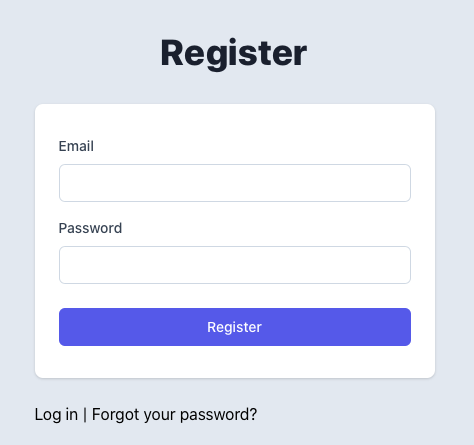
Don’t have an account? No problem. You can create one. Yep, anyone can join our secret intelligence service:
Then once you have an account and you’re logged in, you can access the LiveView to get your next super-secret mission.
There’s a lot of moving parts behind the scenes to make this work.
That’s why it’s called an authentication system. 😉 And users will expect some standard features, including:
-
User accounts
-
User registration with email confirmation
-
Session-based login/logout
-
Remember me cookies
-
Resetting a forgotten password
-
Safely changing account settings
You know the drill.
Also, did we mention it must be secure?
Our legal team reminded us that we need to remind you: The authentication system must be secure!
Basically that means you have to 1) think like a hacker and 2) set up defenses to block all their potential malicious moves. That generally involves techniques such as:
-
Generating, verifying, and expiring time-based tokens
-
Avoiding session fixation and timing attacks
-
Properly hashing and storing passwords
-
Disconnecting websockets on log out
All the reasons you got into programming in the first place, right?
Oh, and it must be tested, too.
Every scenario. Every corner case. Every line of code. Because when it comes to authentication, everything is on the line. One small regression could result in sensitive data being compromised. 😱
It’s no surprise then that the automated tests themselves are the biggest chunk of code in a secure authentication system.
Holy moly, that’s totally overwhelming!
Good thing there’s a library to rescue us from this daunting mission. By using the phx.gen.auth library, we can generate a complete authentication system that follows all the best practices.
Now, we tend to be skeptical when it comes to generated code, but this is different. The code generated by the phx.gen.auth library was written by José Valim. He’s the the creator of Elixir and co-creator of Phoenix and LiveView. Moreover, he has a ton of experience designing and implementing authentication systems. There’s literally nobody on the planet more qualified to write the code generated by this library. For that reason, phx.gen.auth is the go-to authentication library for Phoenix and LiveView.
There’s another reason we love using phx.gen.auth: all the code is generated in plain sight inside your Phoenix application directory. Nothing is shrouded behind a framework. That makes it easy to walk through the code and see how it all works. 👀
So that’s exactly what we’re going to do!
We’ll tackle this important topic in two parts.
First, we’ll walk through the relevant bits of the generated code so it doesn’t feel magical. To keep a reasonable pace, we’ll assume you’re familiar with the concepts of session-based authentication.
You’ll be pleasantly surprised by the neatness and structure of the generated code. It’s a master class in doing things the Elixir and Phoenix way.
Then we’ll explore how to ensure that only authenticated users can access a LiveView. Doing that takes very little code, but the story unfolds with a bit of a twist.
You see it coming when you recall that a LiveView’s mount callback is invoked twice: once for the initial HTTP request and again when the client has connected to the websocket. Therefore, user authentication steps must be performed in both the disconnected and connected states.
And that raises questions such as:
-
How does a LiveView access session data in both states?
-
How do you reduce authentication-related database queries?
-
How can you share connection assigns in the disconnected state?
-
How can you use a LiveView for a feature that sets browser cookies given that cookies can’t be set over a websocket connection?
🤩 There’s a lot of ground to cover! But after a few iterations on the script, we think we’ve cut a clear learning path. Right now we’re estimating 3 videos and at least 2 animations.
But what if you’re using another authentication system?
Thankfully, all the techniques are the same! So regardless of which system you use, you’ll know how to use it to authenticate LiveViews after watching these videos.
So that’s the plan. Whaddaya think?
We’d love to know your thoughts and questions.
Once again, thanks for your interest in the LiveView Pro course! 😊